A Photographic Journey Through the Creation of a Pioneering Aircraft.
Pioneering achievements don’t happen on the drawing board alone—they are built by hand. Here, we take you behind the scenes of one of the most ambitious aviation projects of our time.
In this four-part photo documentation—spanning from initial mold construction through fuselage and wing fabrication to the complex powertrain installation—you can follow the construction of the eGenius step by step. Over 70 original photographs showcase the craftsmanship, precision, and passion embedded in every single inch of this aircraft.
What makes this gallery special: The descriptions for each construction phase come directly from Len Schumann, who, as co-developer and design engineer, knows every step, every fiber, and every detail of this prototype firsthand. Description comes soon!
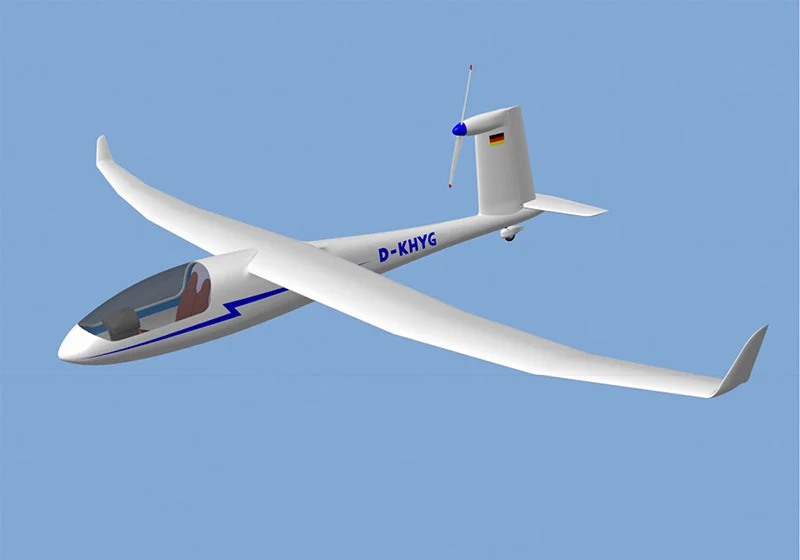
First CAD model of the aircraft in the version with a fuel cell power system, hence the registration mark D-KHYG
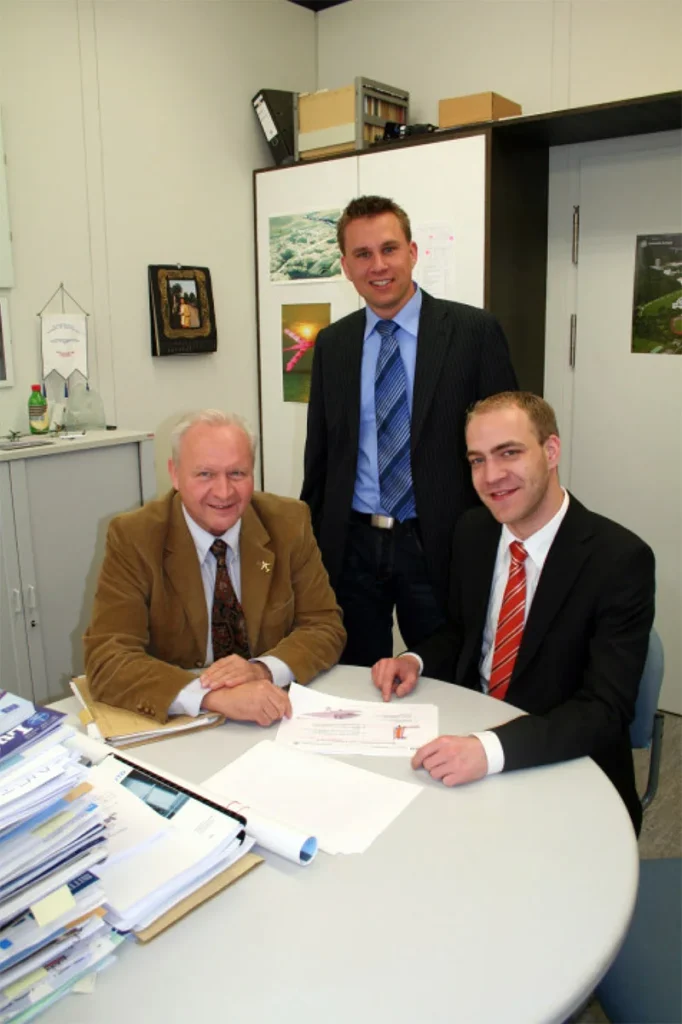
Professor Rudolf Voit-Nitschmann, Steffen Geinitz and Len Schumann discuss their design
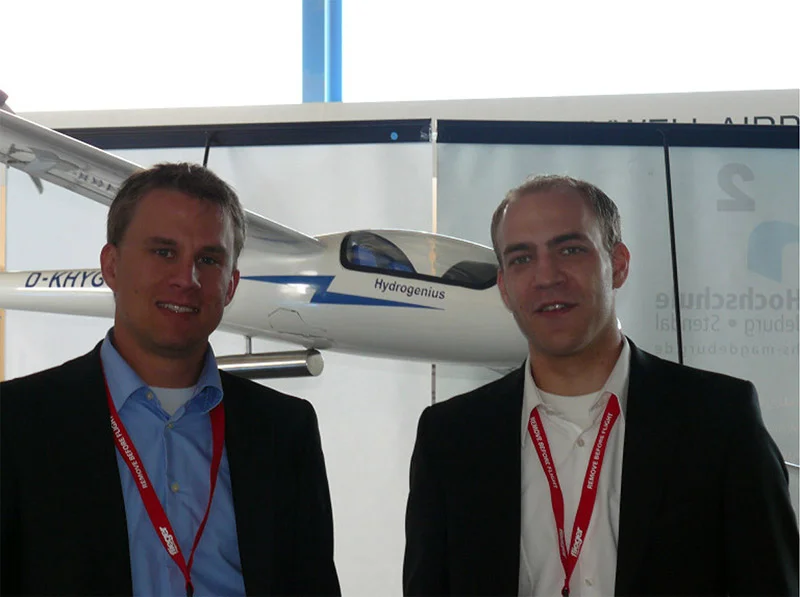
Len Schumann and Steffen Geinitz in front of the exhibition model of the Hydrogenius
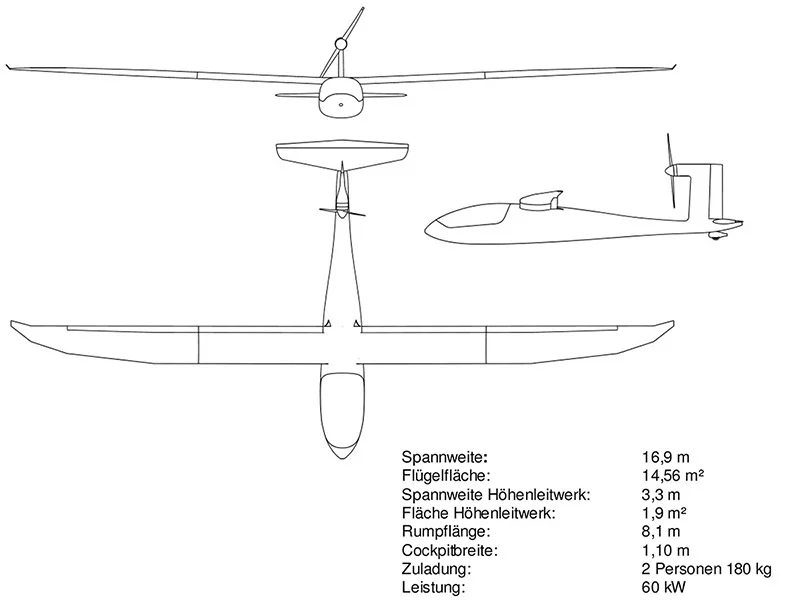
Three-view drawing of the completed design
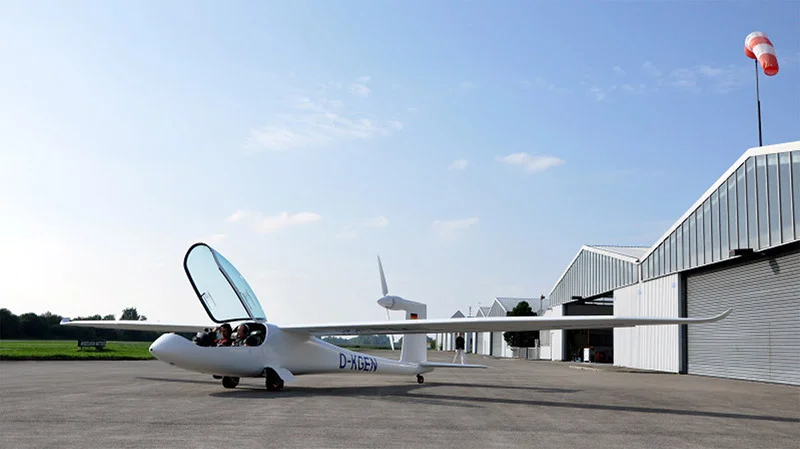
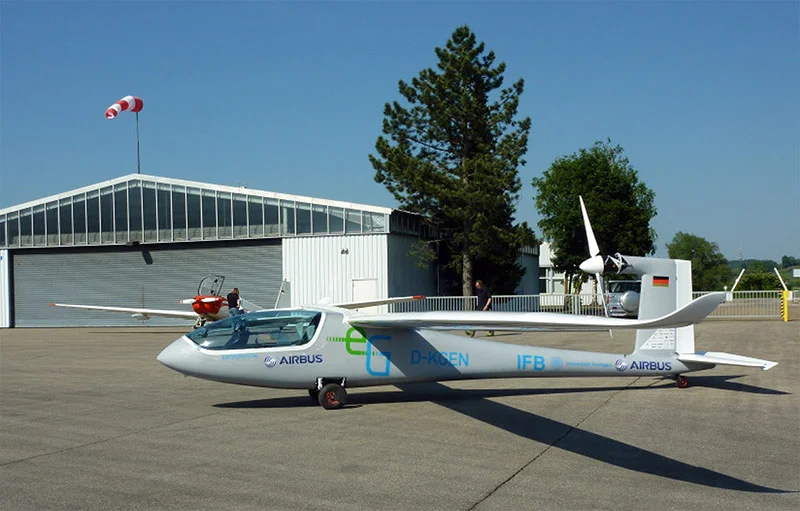
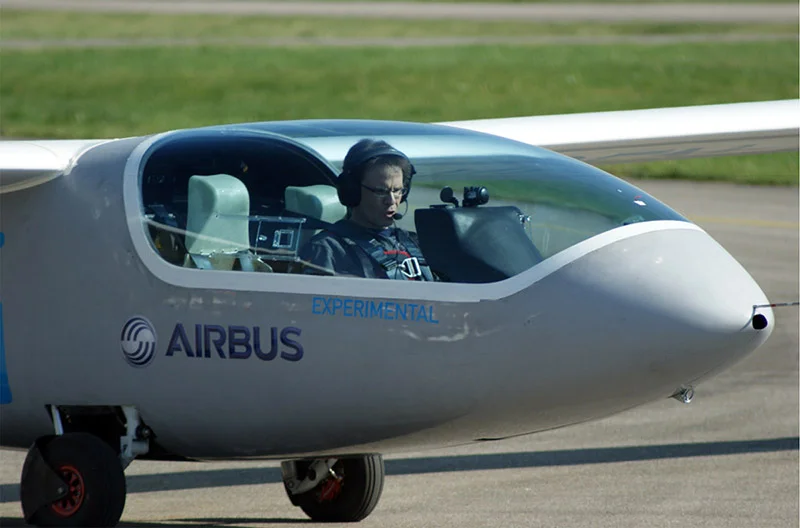
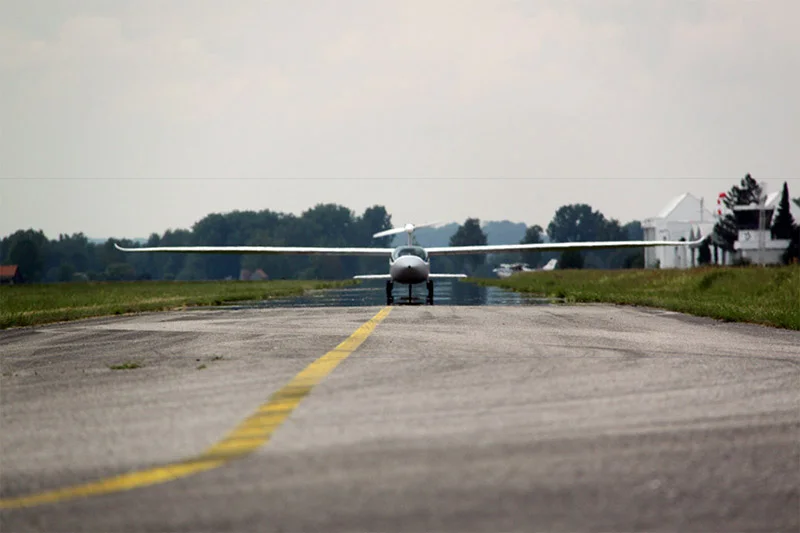
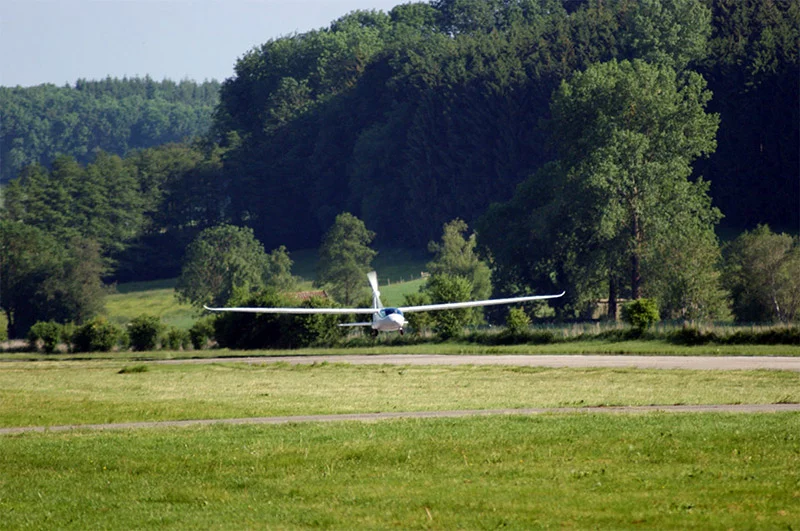
e-Genius undergoing testing
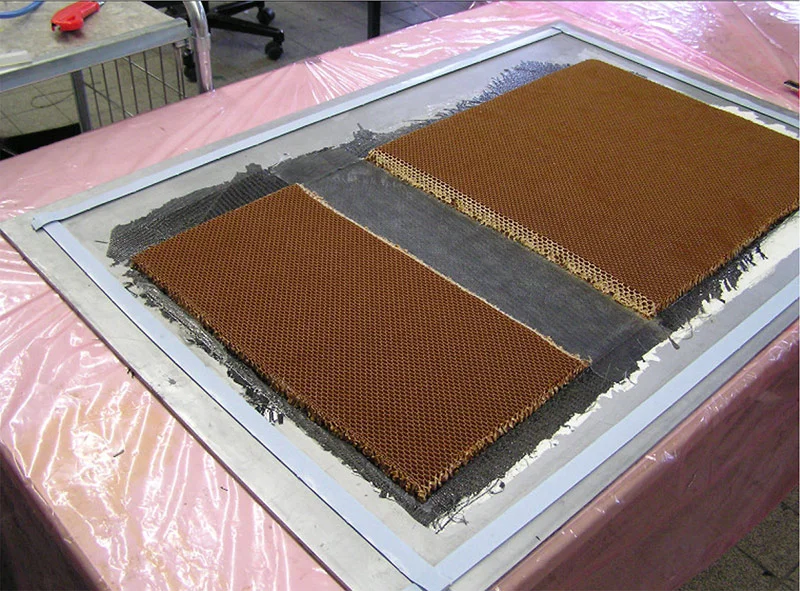
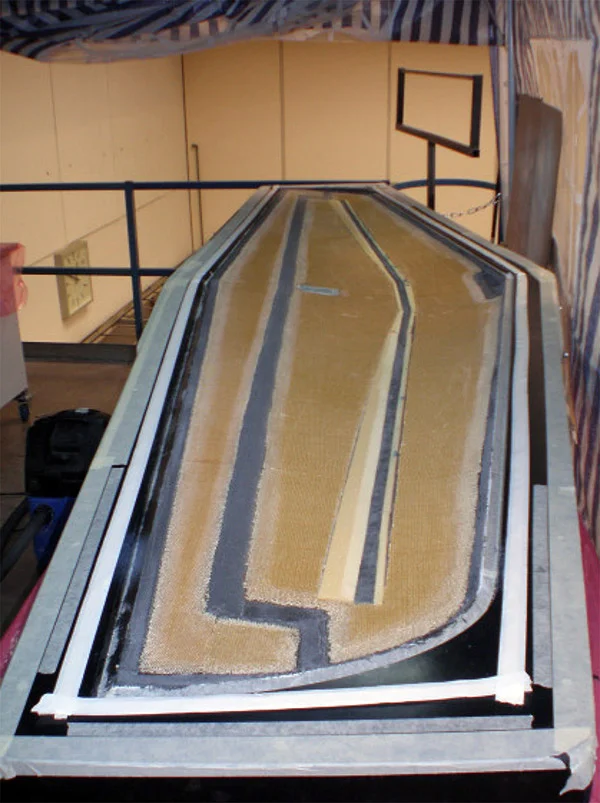
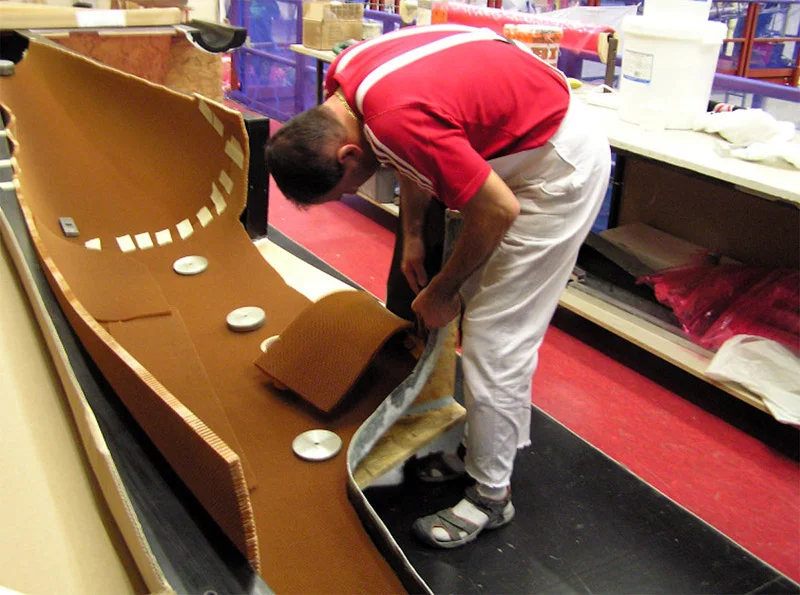
Construction of a honeycomb sandwich panel
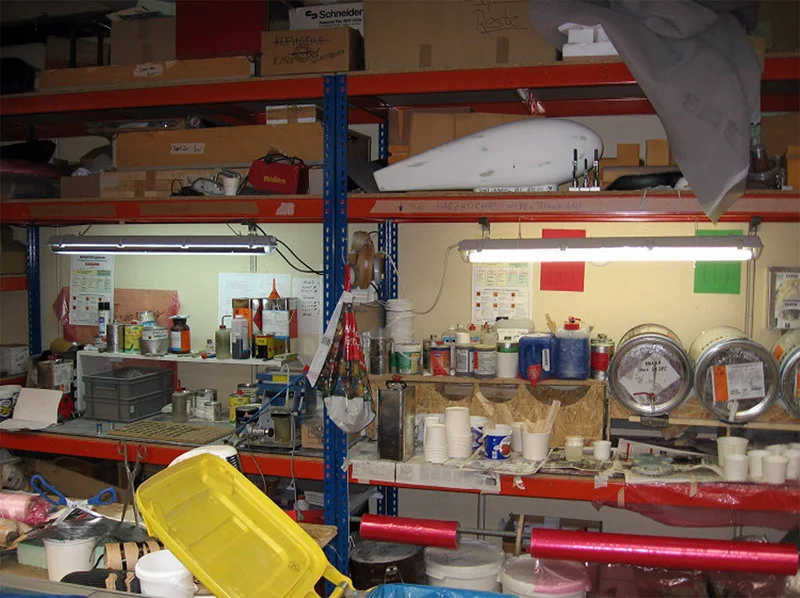
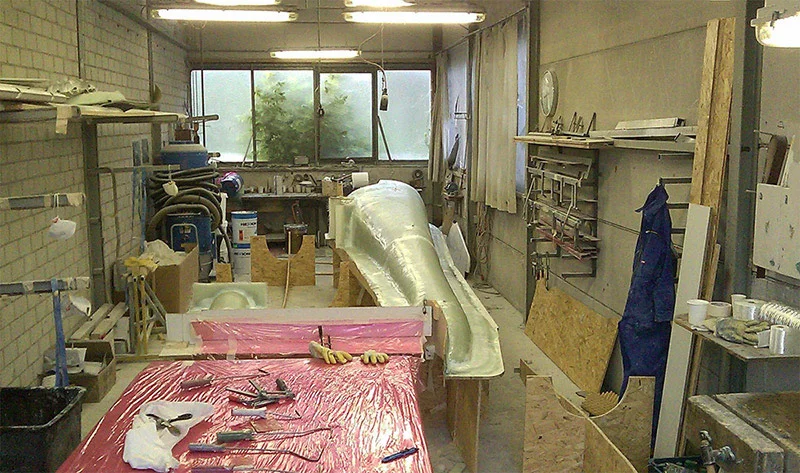
the ‘resin kitchen’ during prototype construction in the IFB workshop
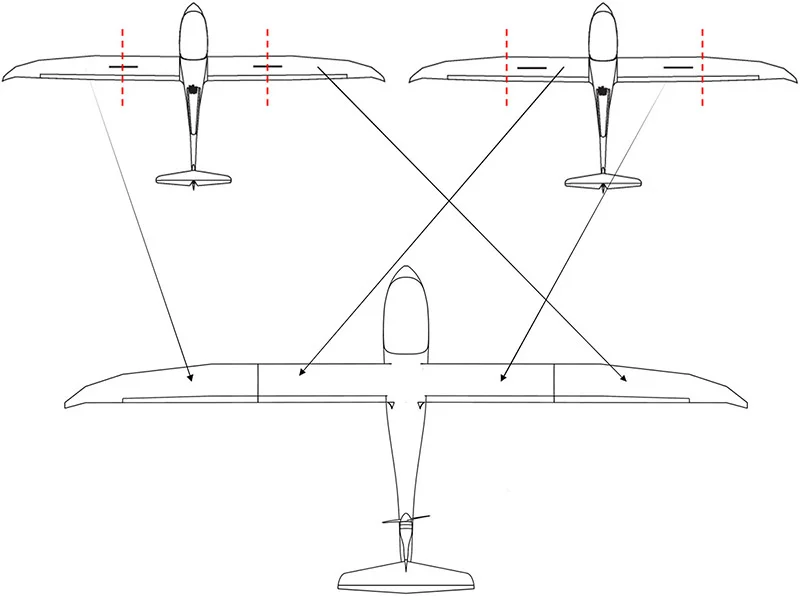
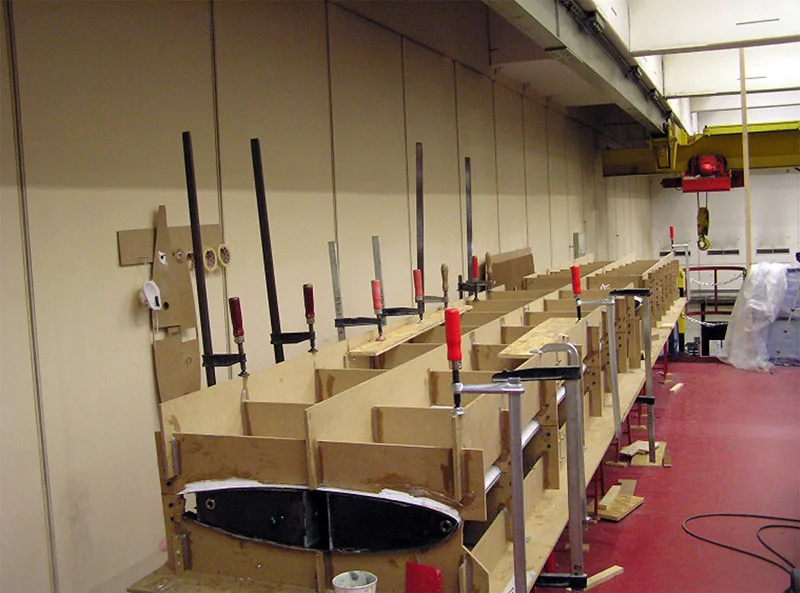
Sketch showing how to build a 16.9-metre wing from a 15-metre wing mould
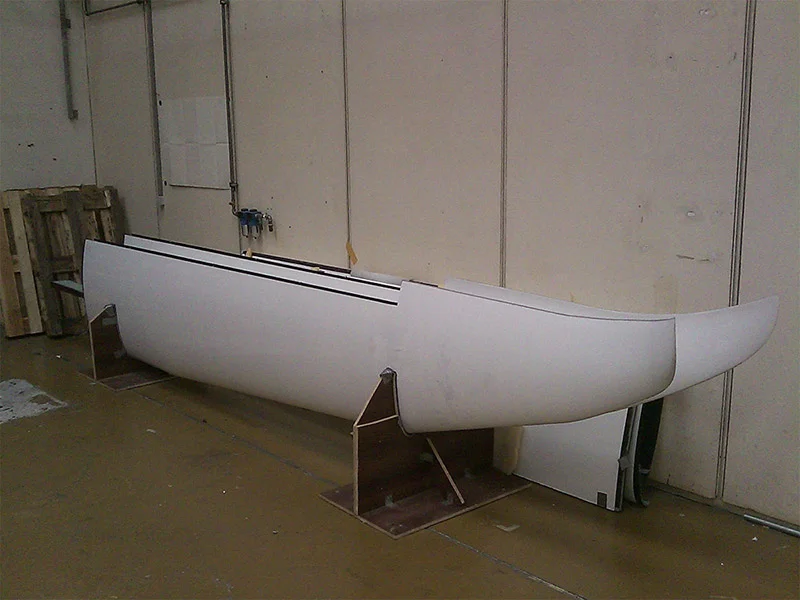
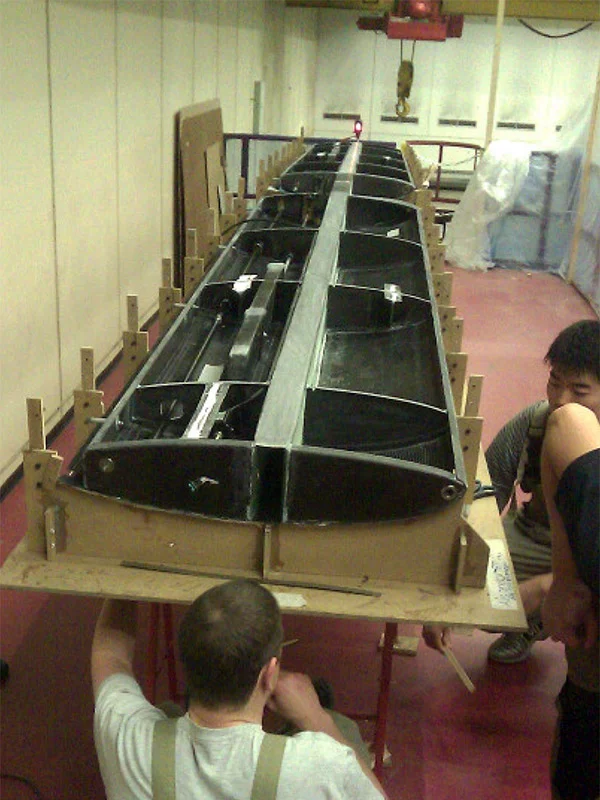
The outer wings are ready for the shell to be fitted
The honeycomb core in the horizontal stabiliser is being machined
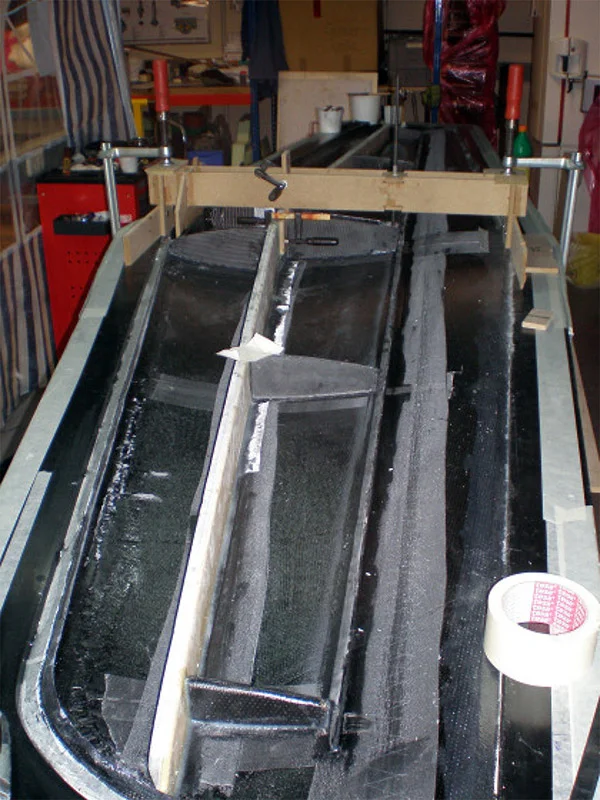
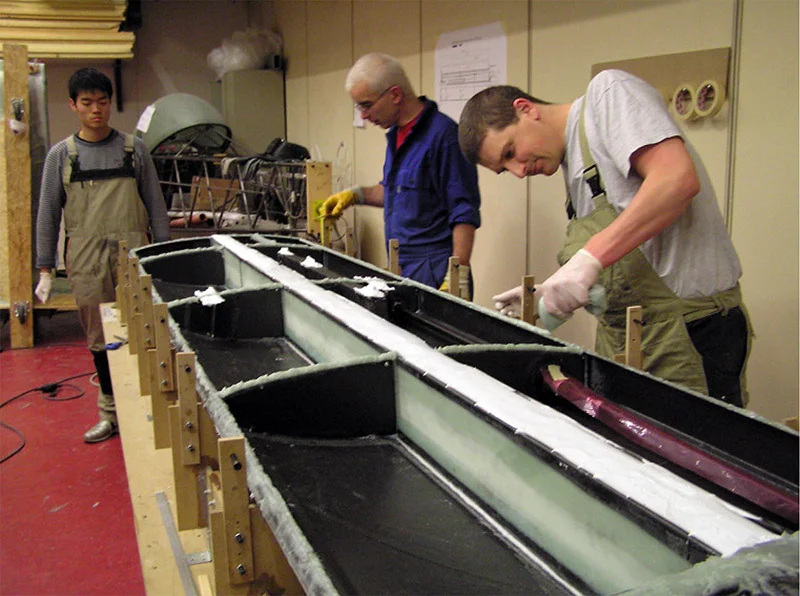
The struts, cross-members and ribs are glued into the HLW half-shell
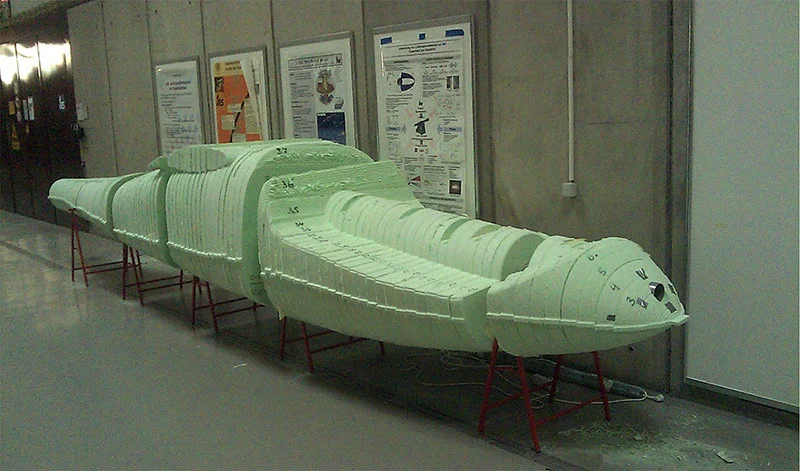
The master mould for the fuselage is made from milled Styrodur sheets
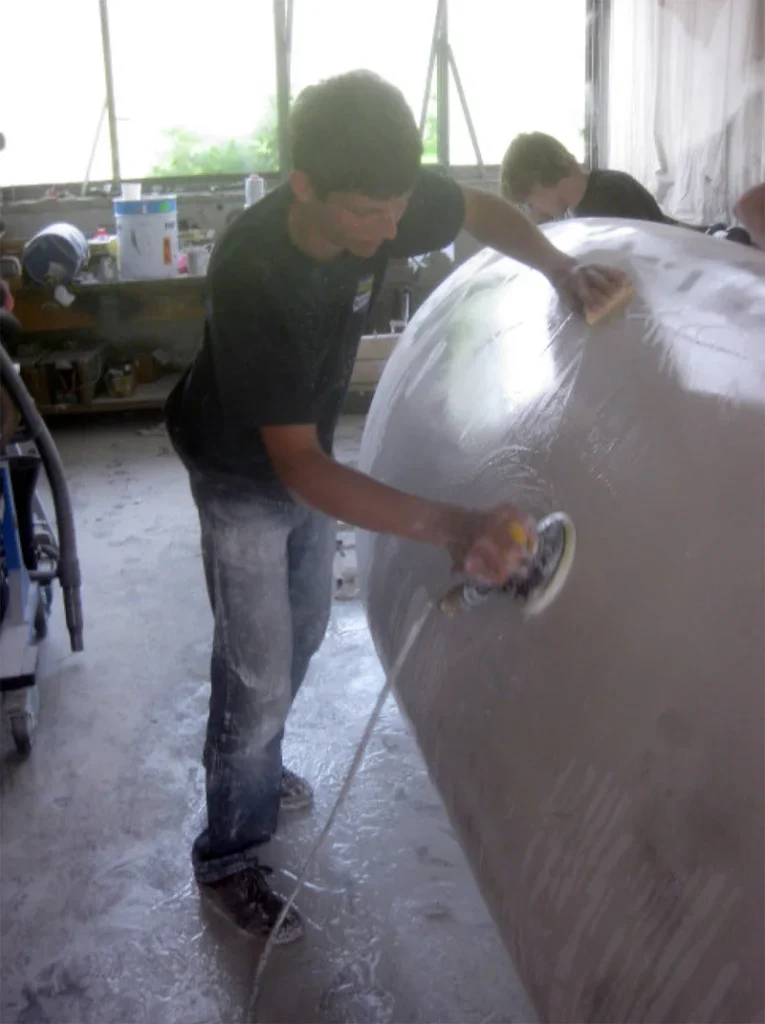
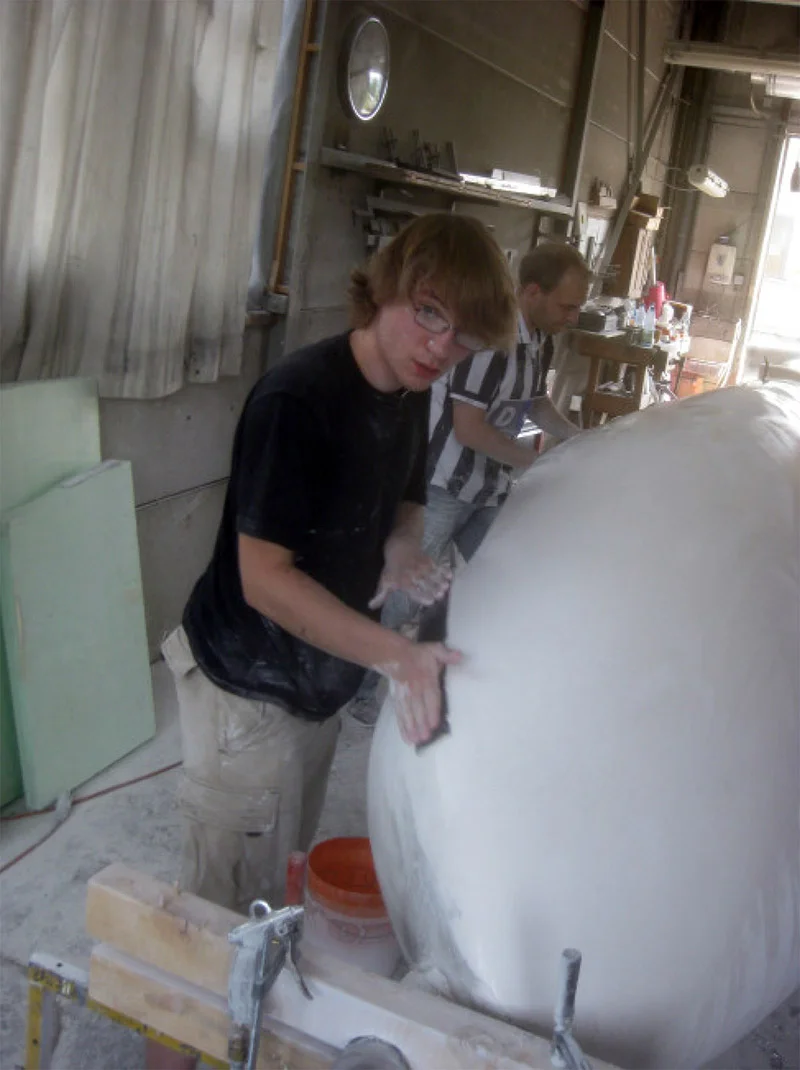
The fuselage model is given a smooth, sanded finish
The fuselage model is given a smooth, sanded finish
The parting line for casting the fuselage mould is being prepared
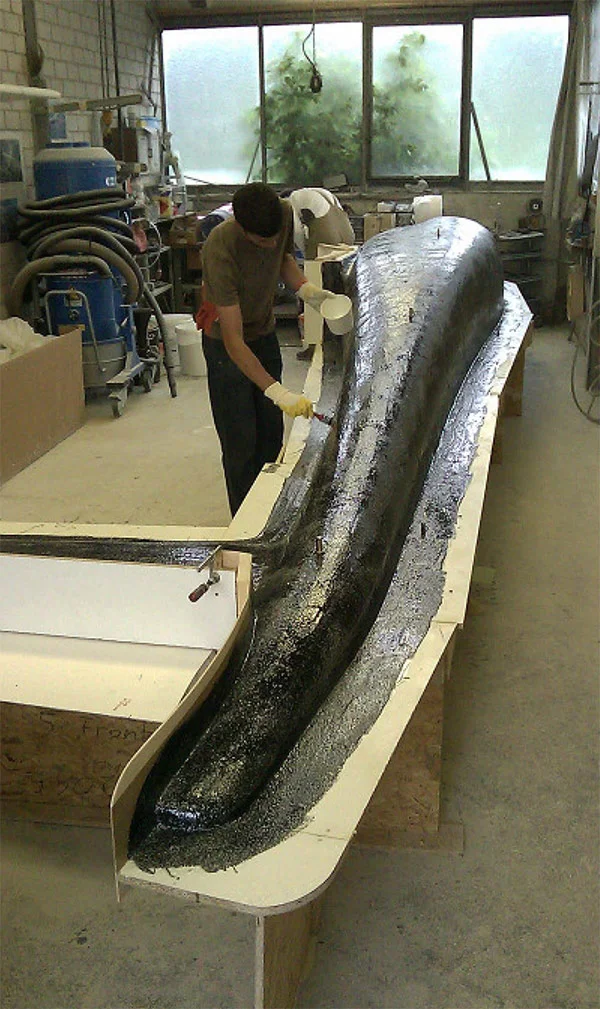
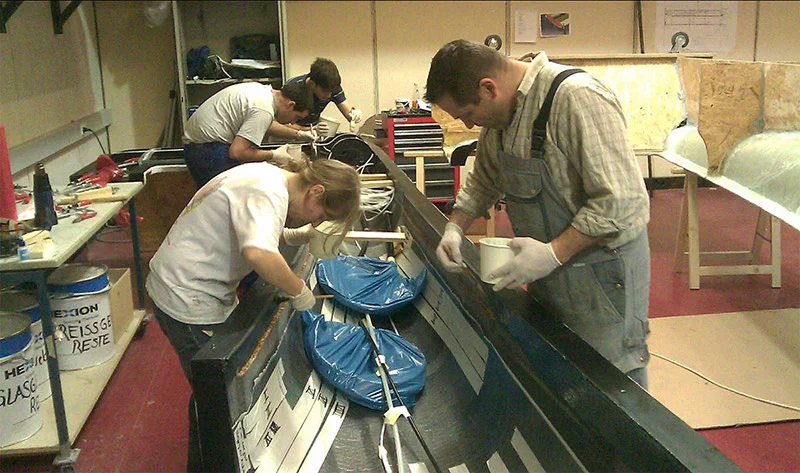
Moulding resin is applied
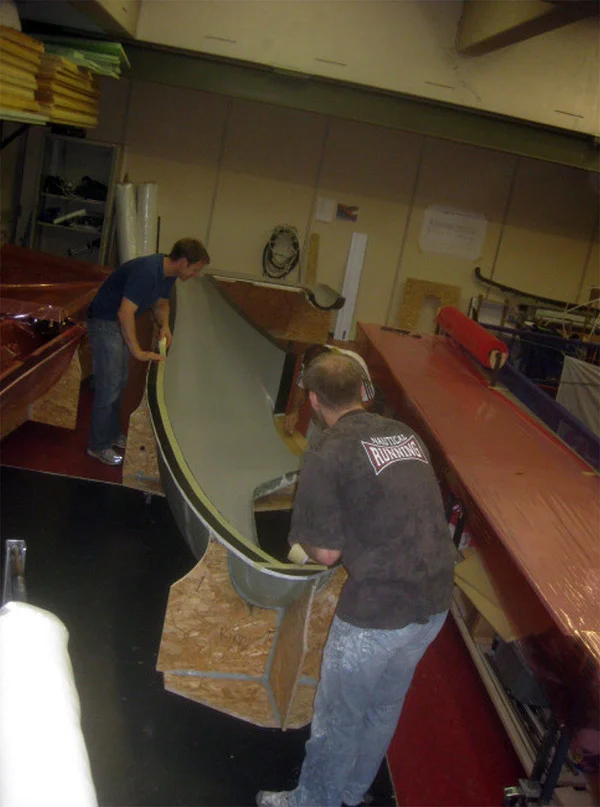
The negative is laminated
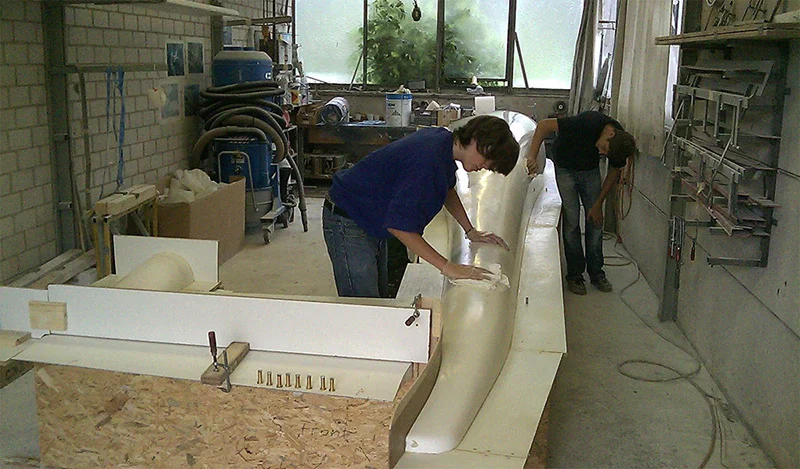
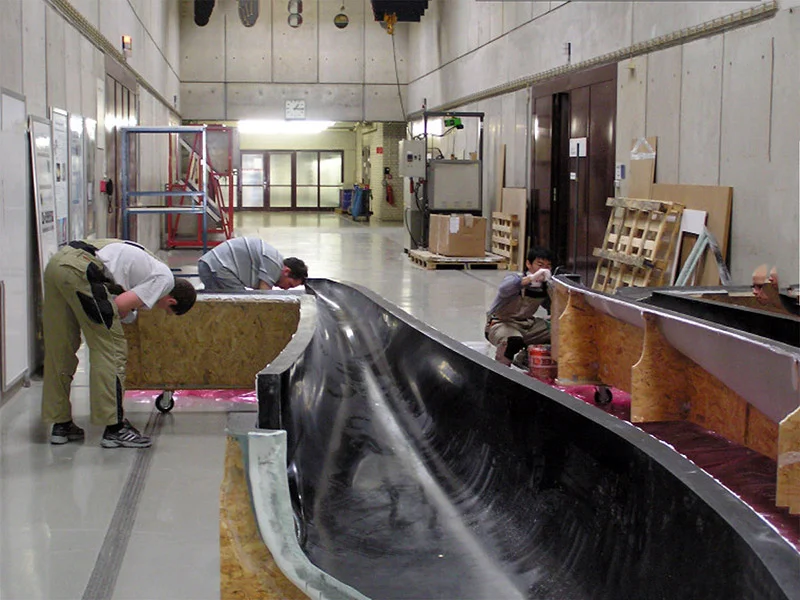
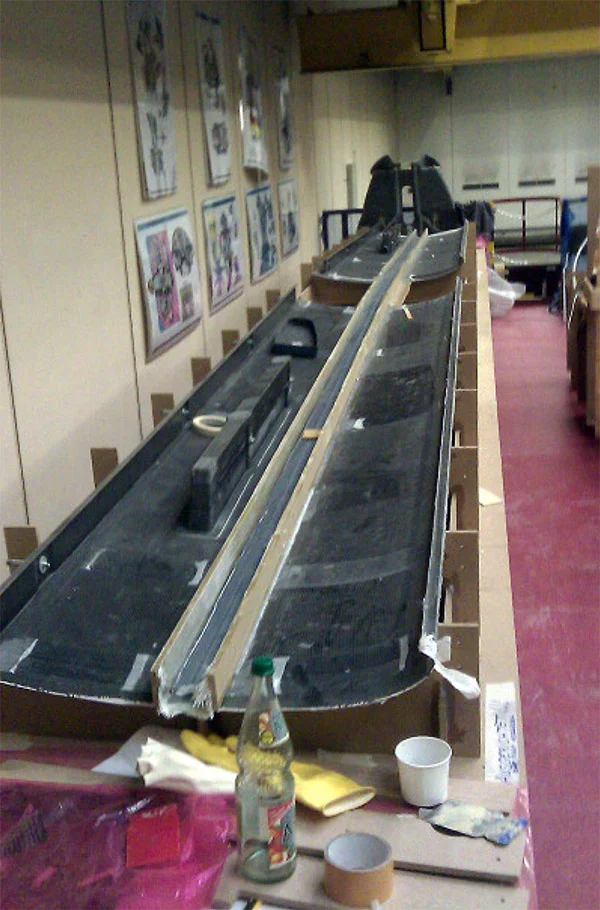
The fuselage moulds are machined after the master model has been removed from the mould
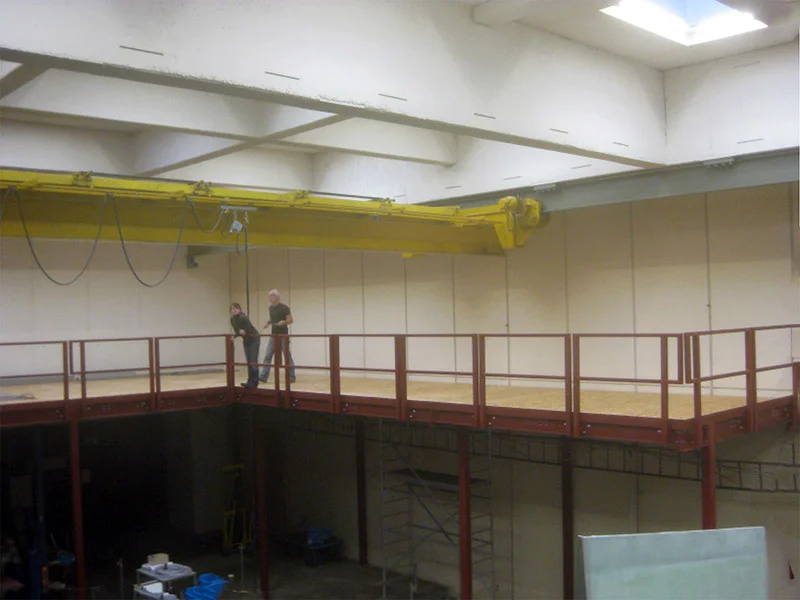
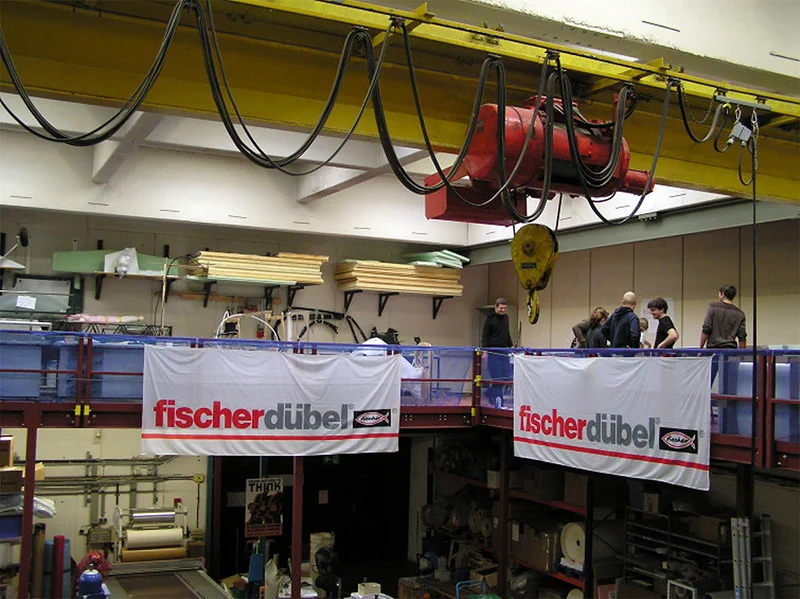
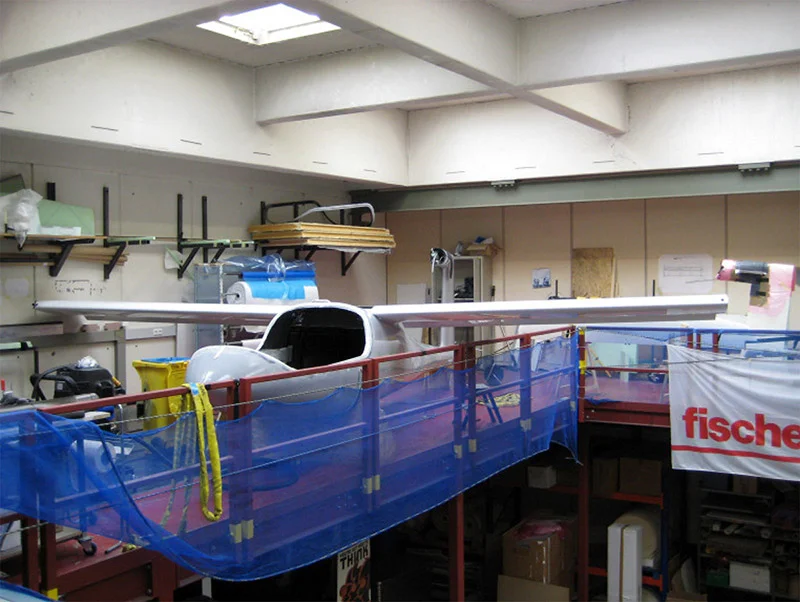
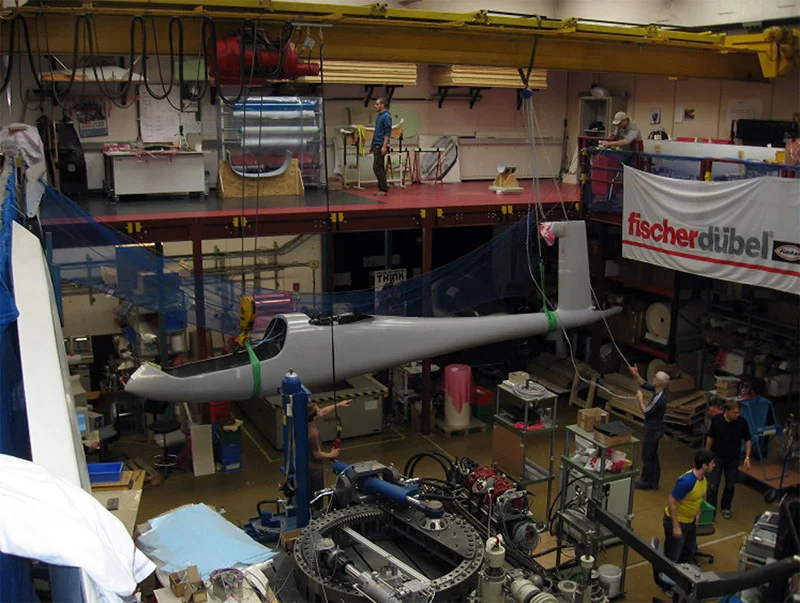
Extra space was added specifically for aircraft construction
Without our sponsor Artur Fischer, there would be no e.Genius
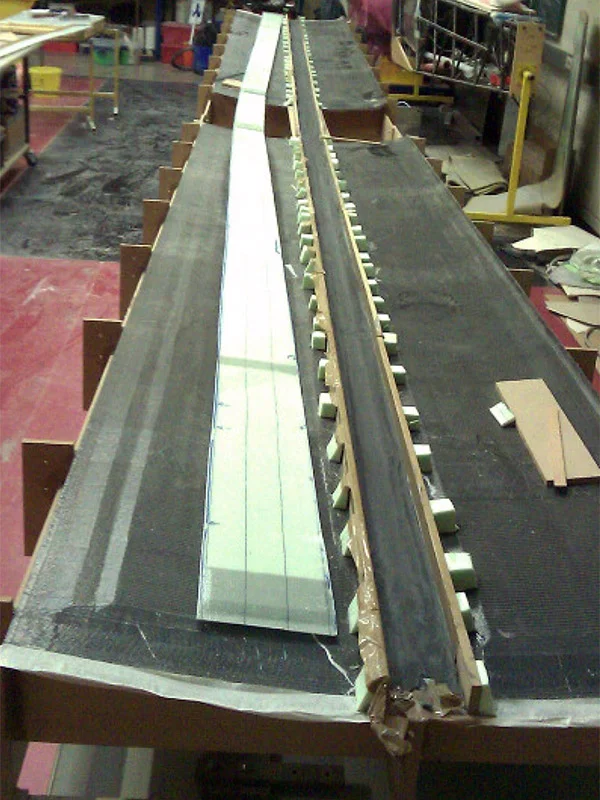
The centre section is constructed from prefabricated wing shells
The centre strut takes shape
The centre strut takes shape
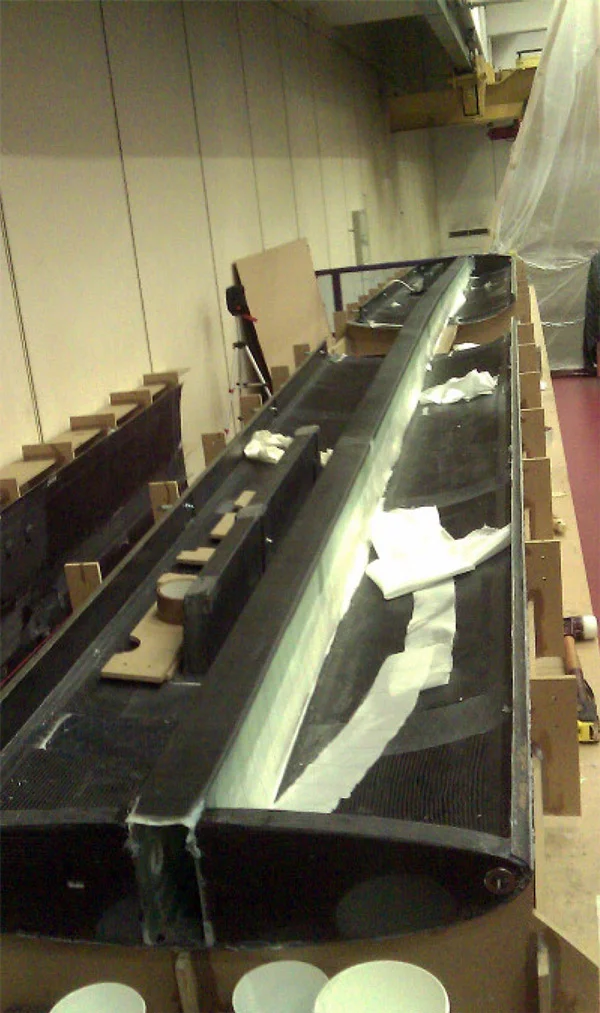
The ribs, control mechanisms and fittings are glued in place
Preparations are being made to bond the lower shell
The lower shells are glued together
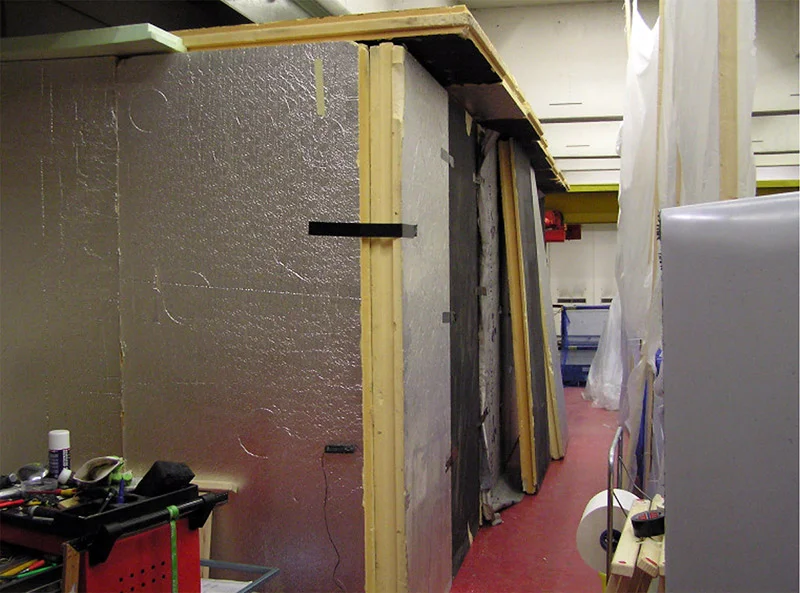
Tempering of composite parts
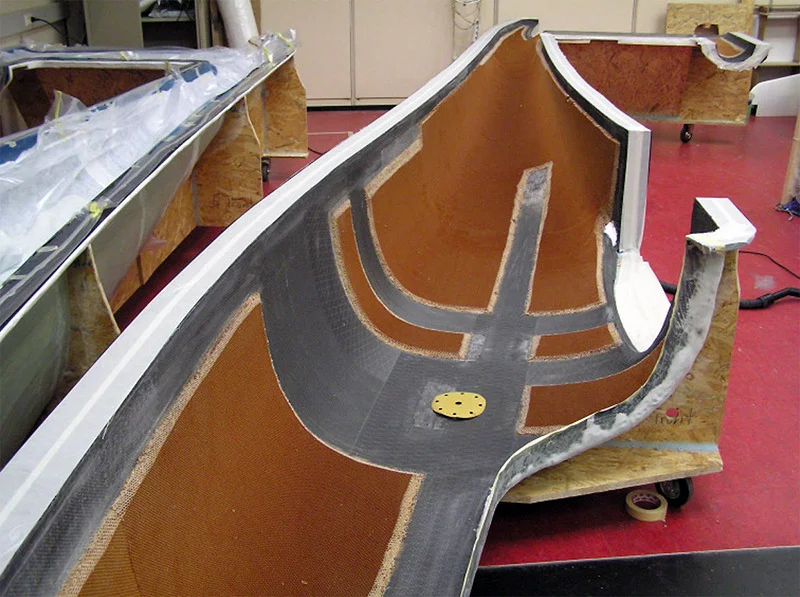
The aramid honeycomb panels for the fuselage shells are being fitted
The fuselage shape is being prepared
The fuselage shape is being prepared
The fuselage shape is being prepared
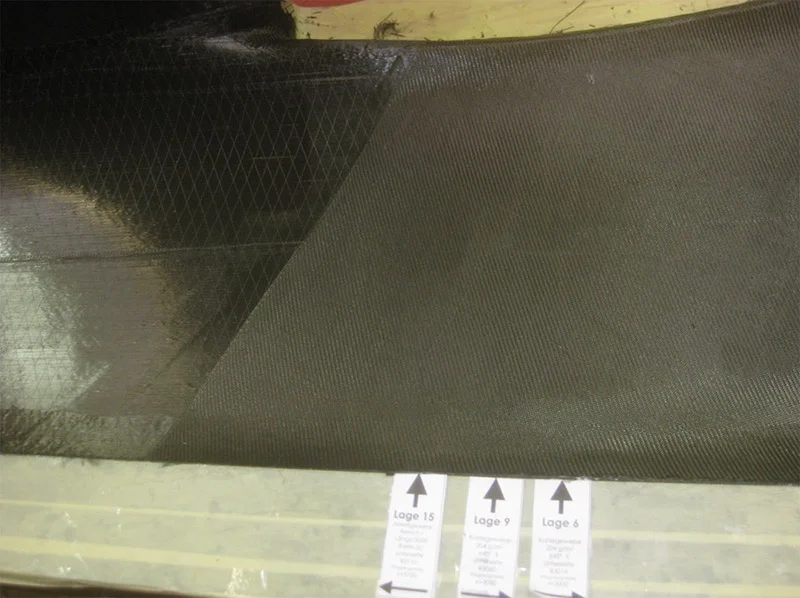
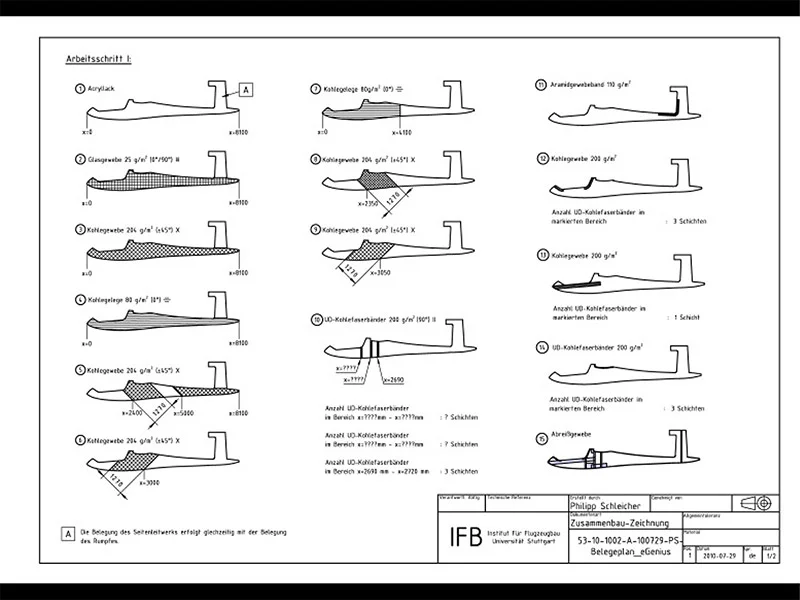
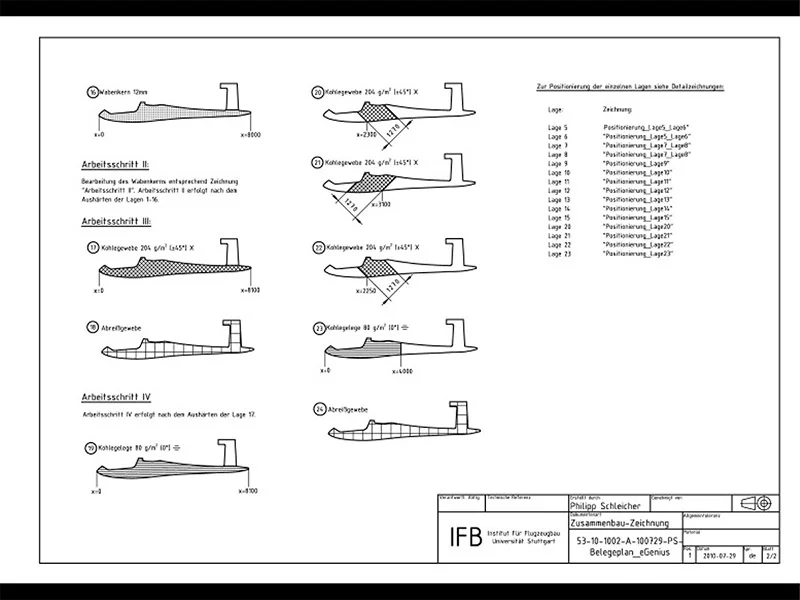
Documentation plans
Documentation plans
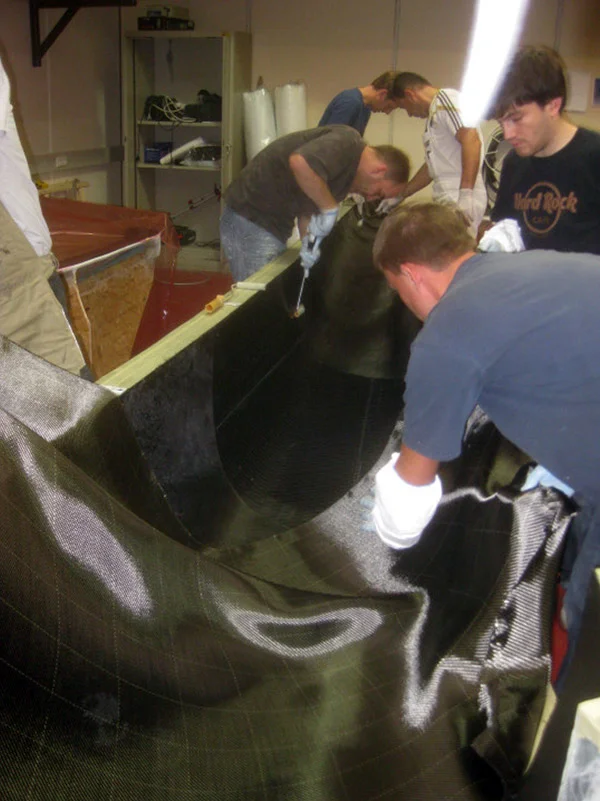
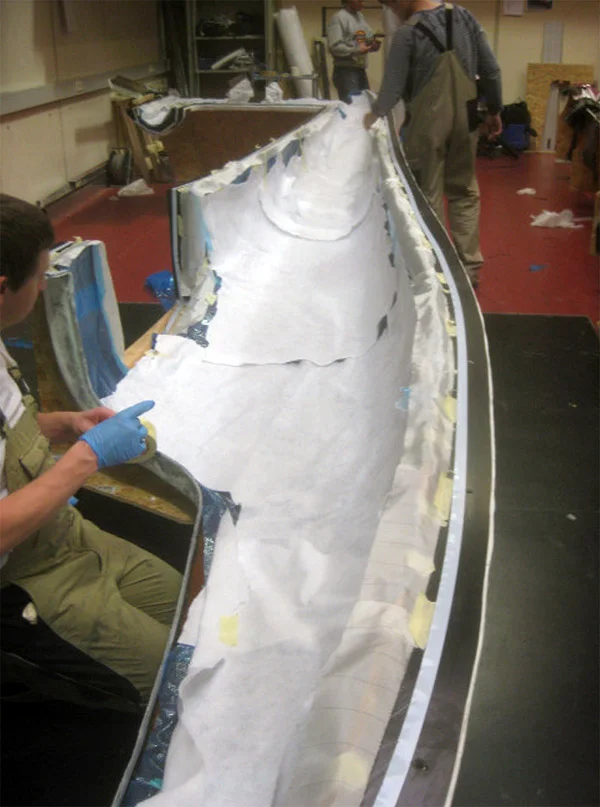
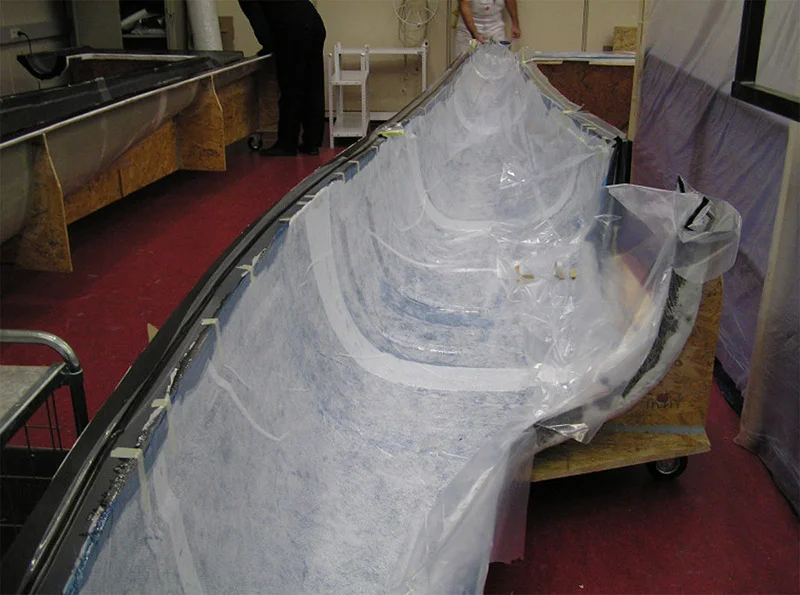
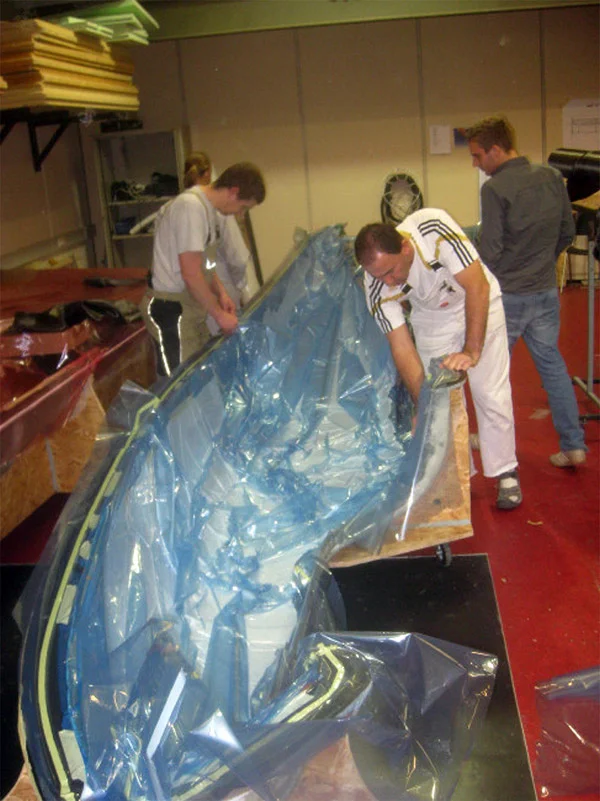
Vacuum build-up
Vacuum build-up
The aramid honeycomb panels are cut out in the areas where the inner and outer fabrics are to be bonded together
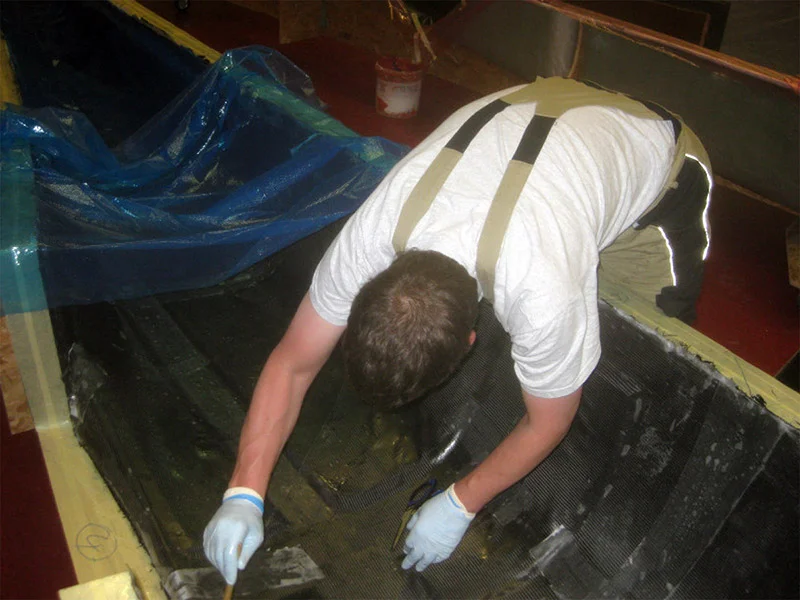
Fine-tuning during lamination
Vacuum build-up
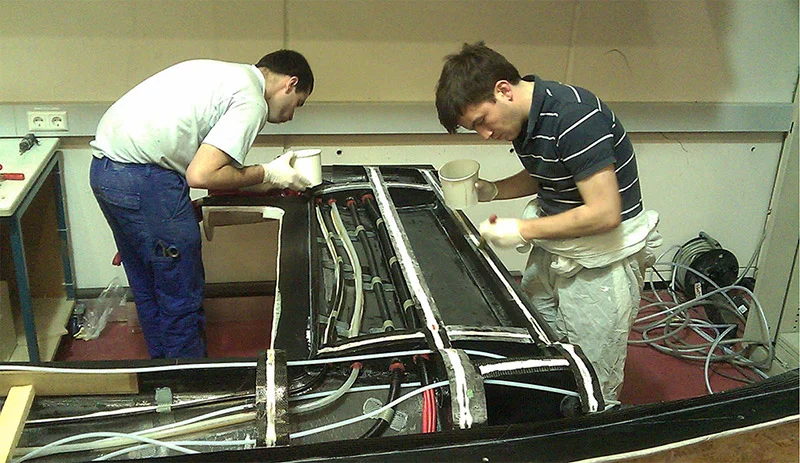
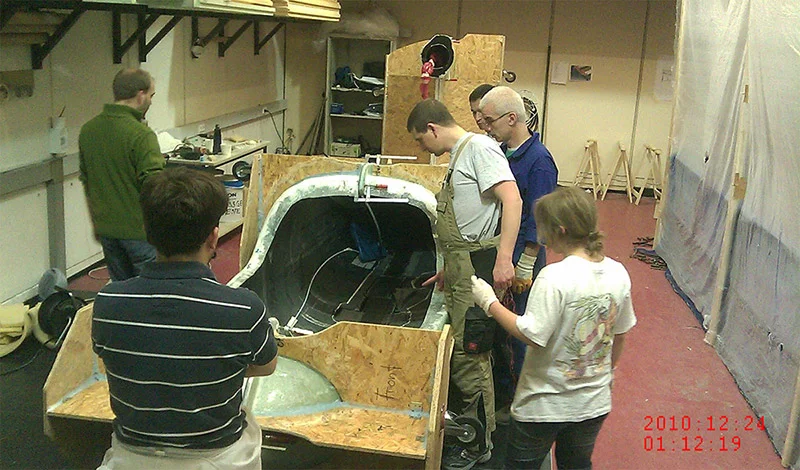
Preparatory work for bonding the two fuselage halves; the engine cables and coolant pipes in the vertical stabiliser are visiblePreparing for bonding
41 Die Formhälften sind geschlossen
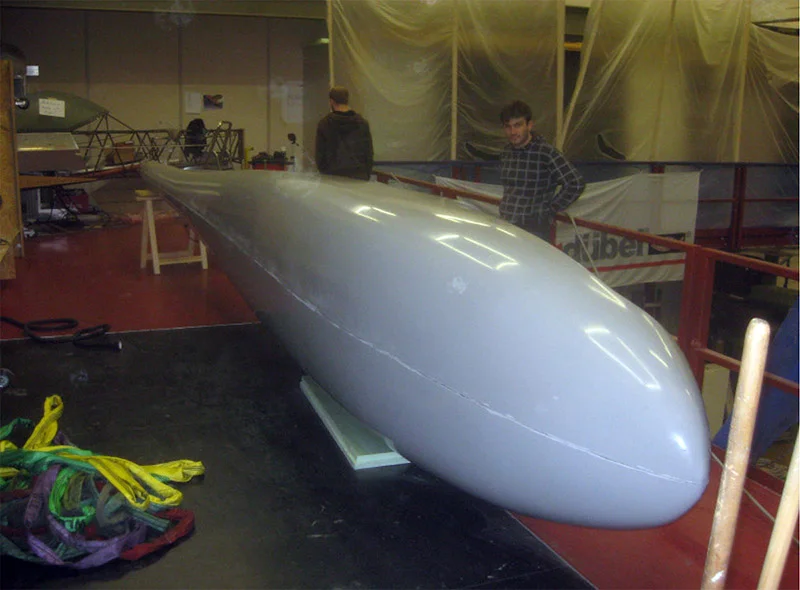
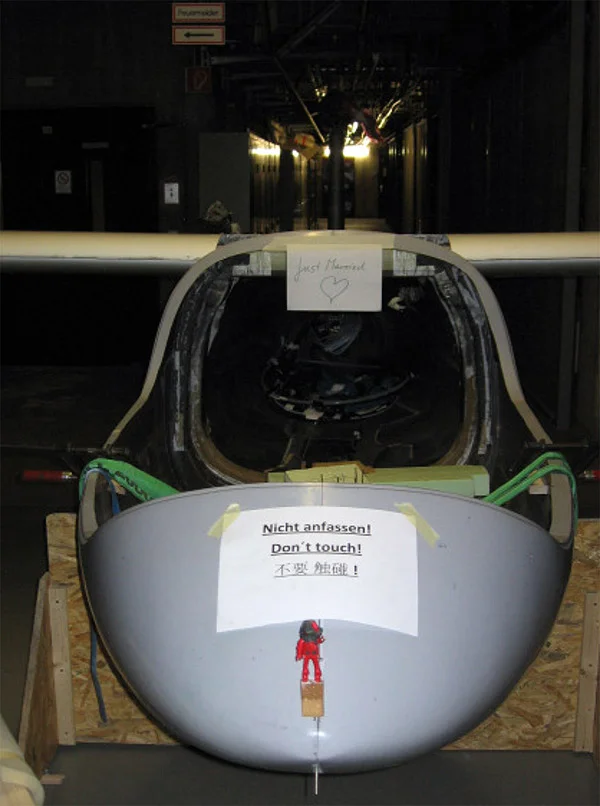
the demoulded fuselage
weddingWedding
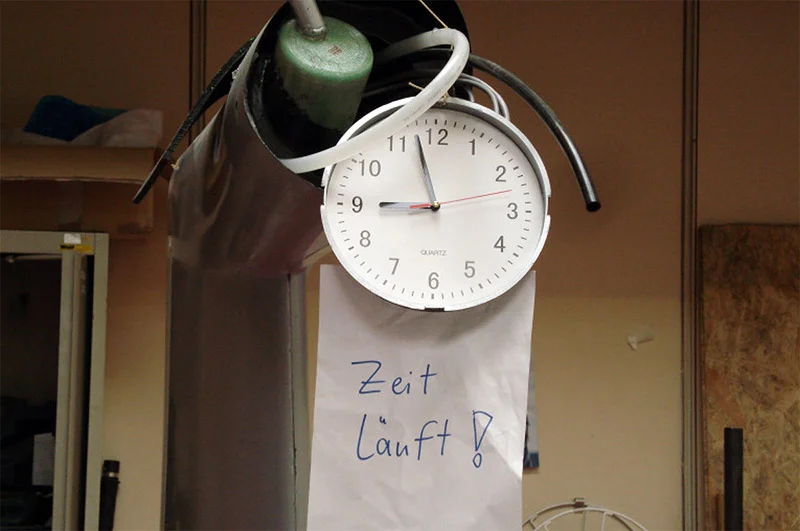
Time runs, hurry up
Wing-fuselage fittings are bonded
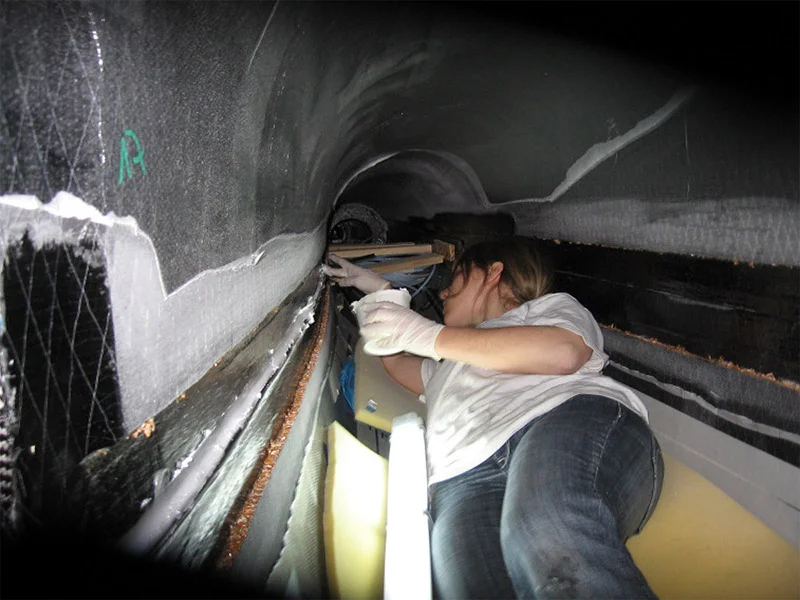
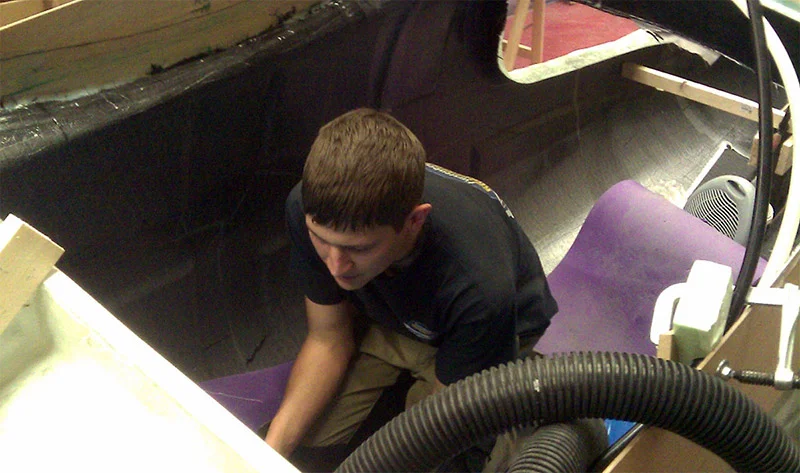
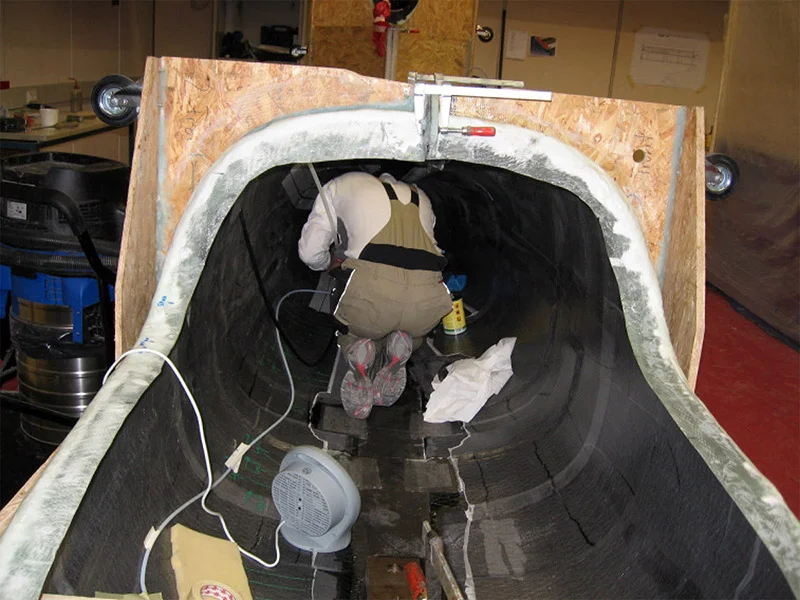
Lamination work in the fuselage tunnel
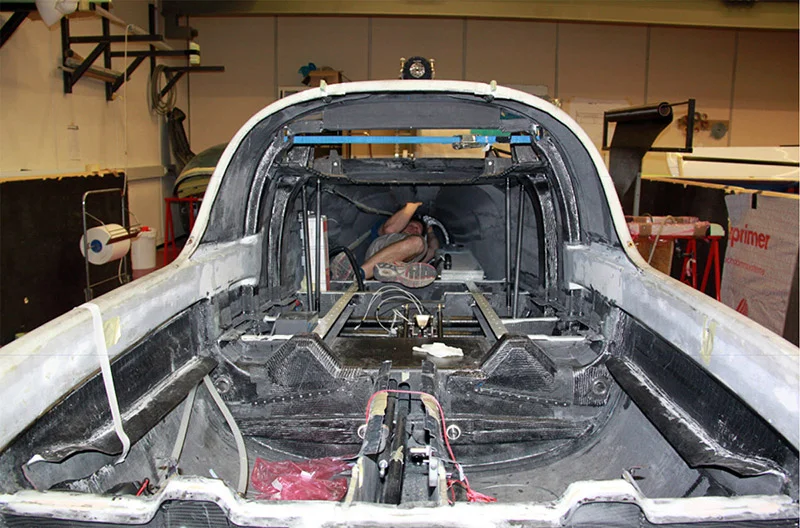
Fitting out the fuselaage
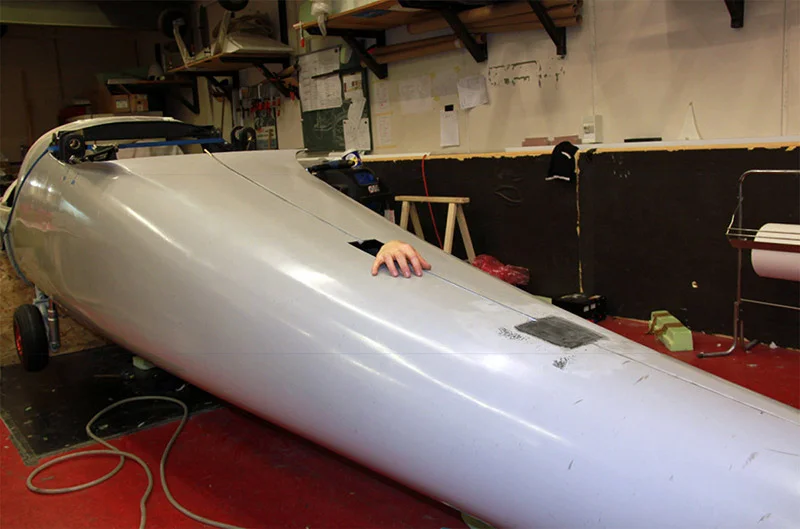
Laminating over the joints in the fuselage tube
Fuselage extension, landing gear bay and control system
Cooling air outlet
Fan heater in the fuselage
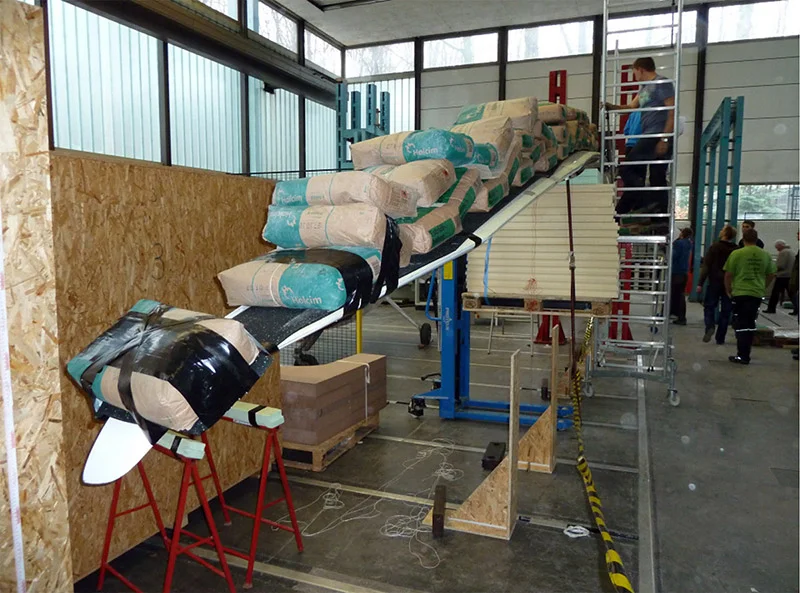
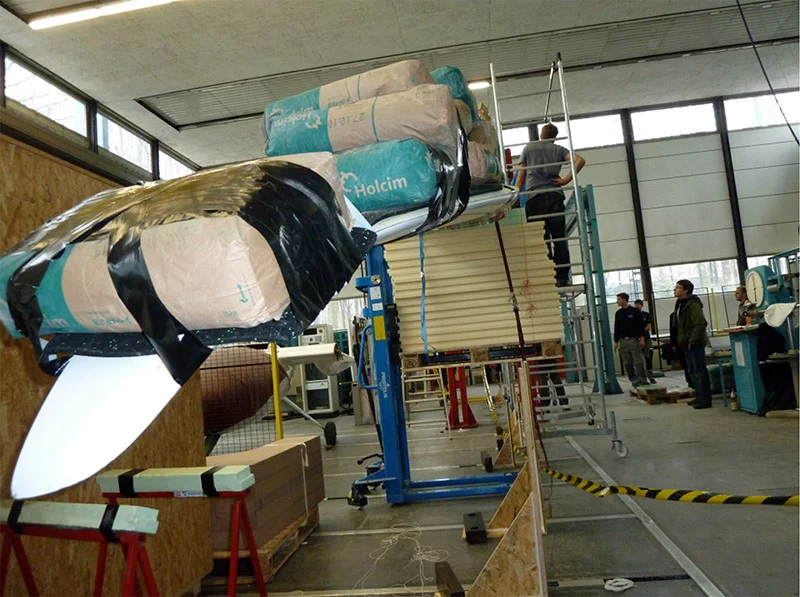
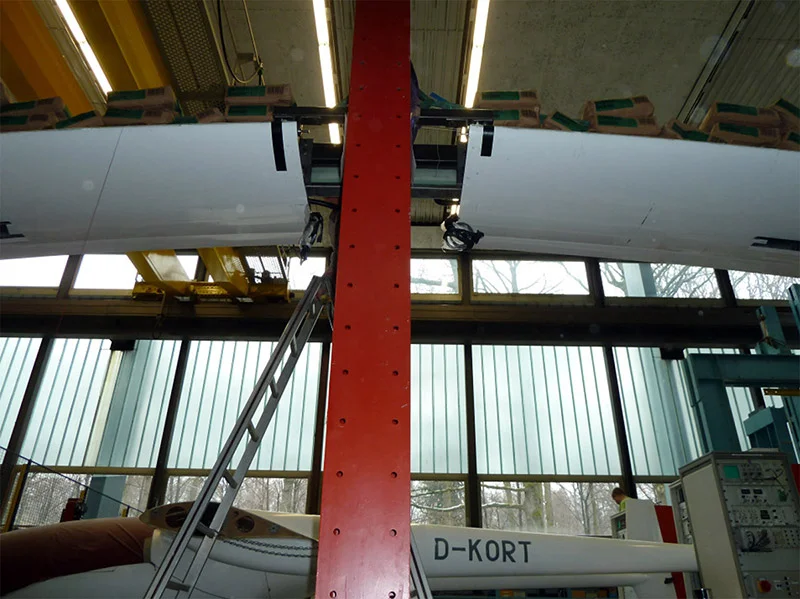
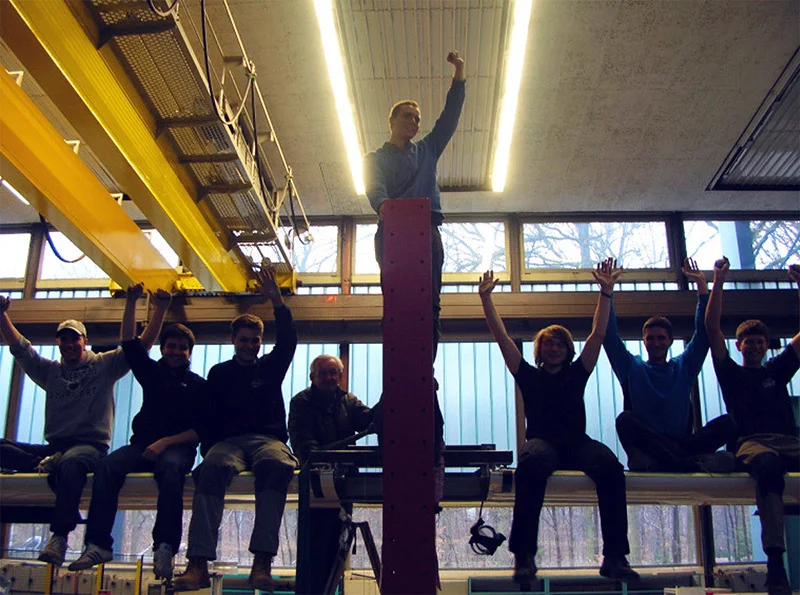
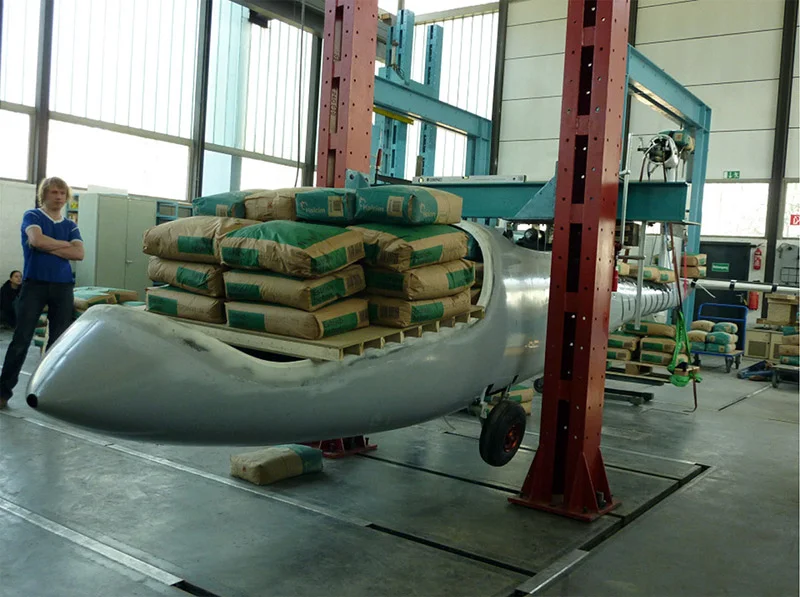
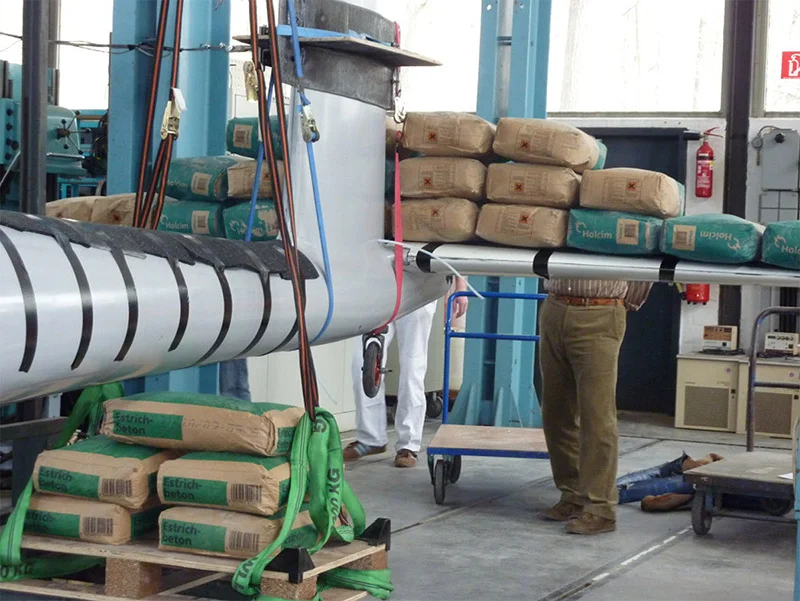
Load test
Load test
Load test
Load test
Load test
Load test
Load test
Editing
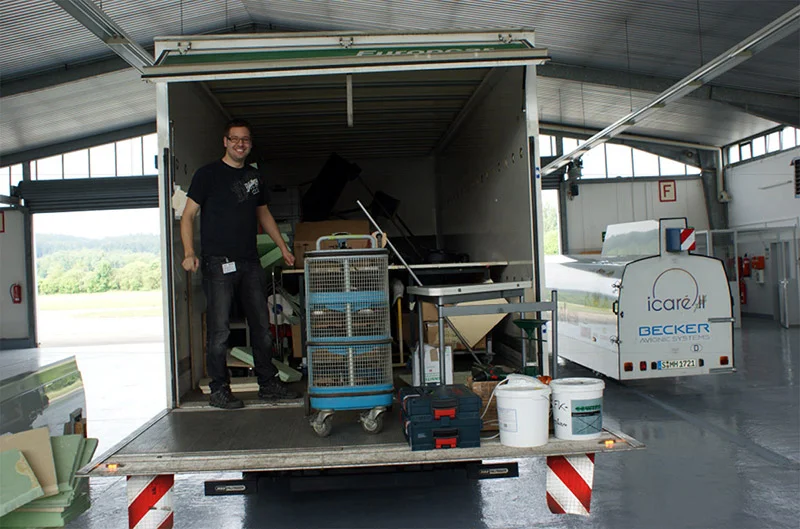
A lack of space breeds ingenuity
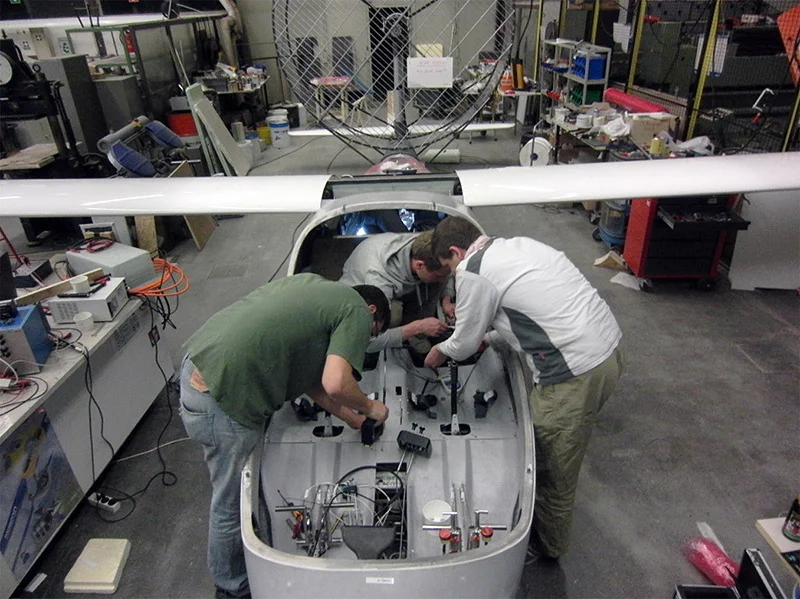
Trial installation
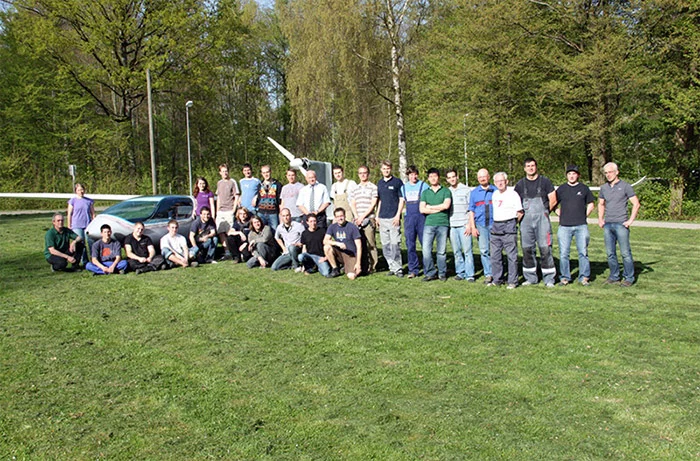
No team, no aeroplane
Cockpit fit-out
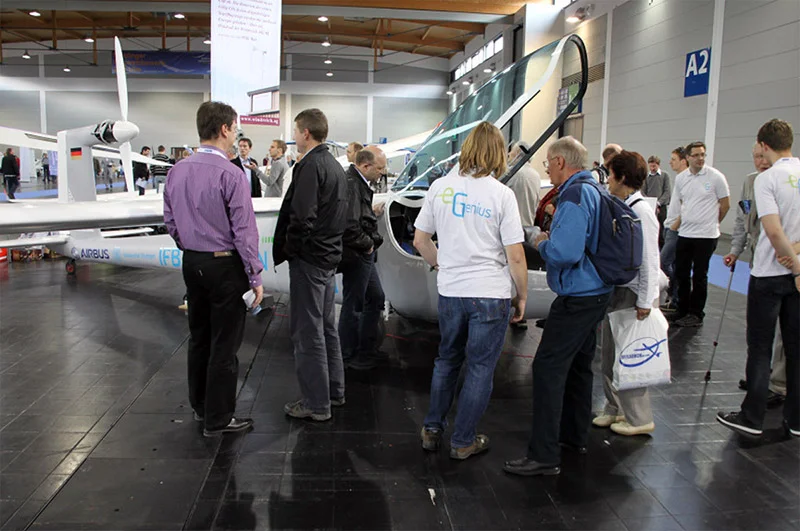
Aero 2011
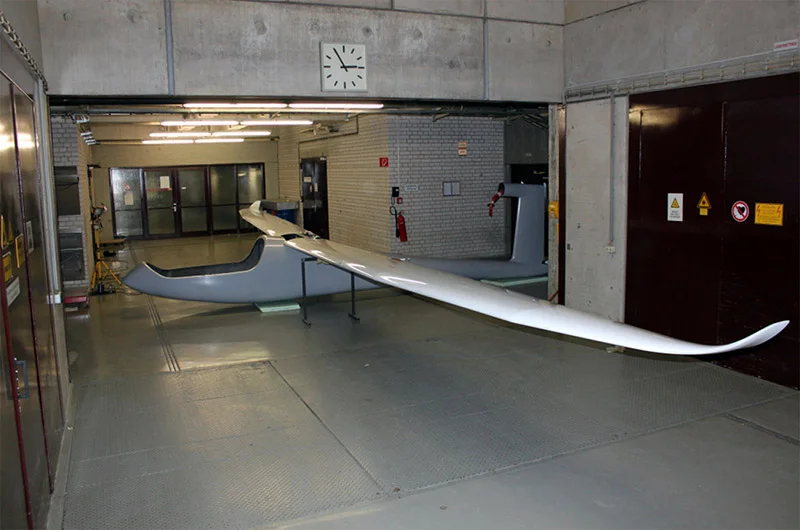
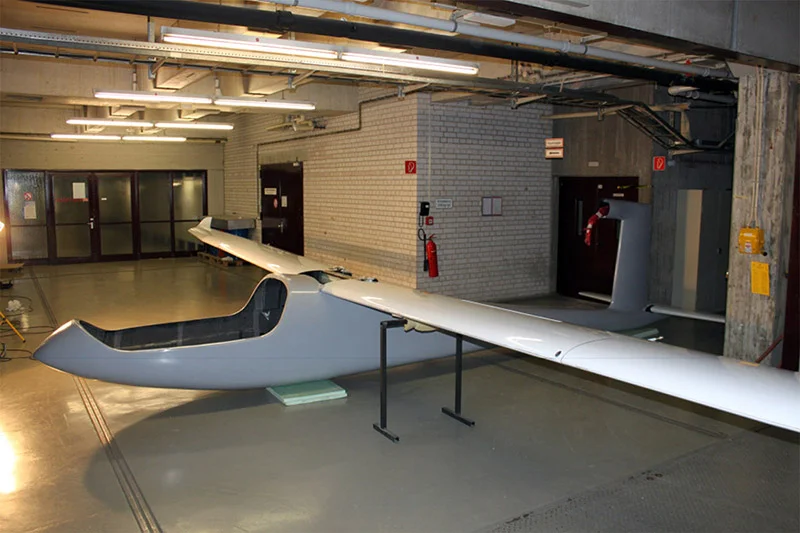
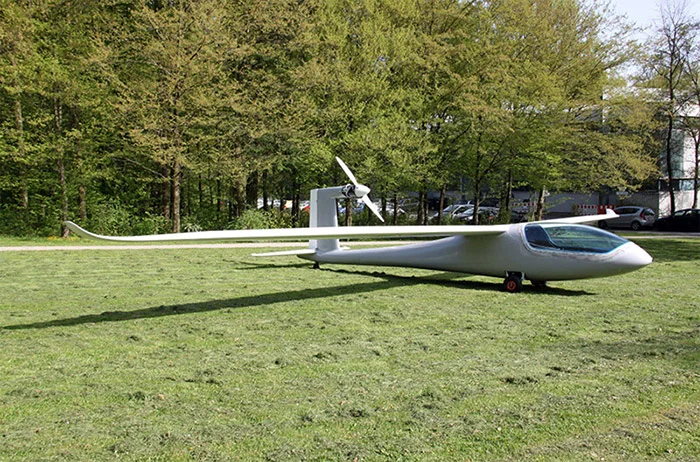
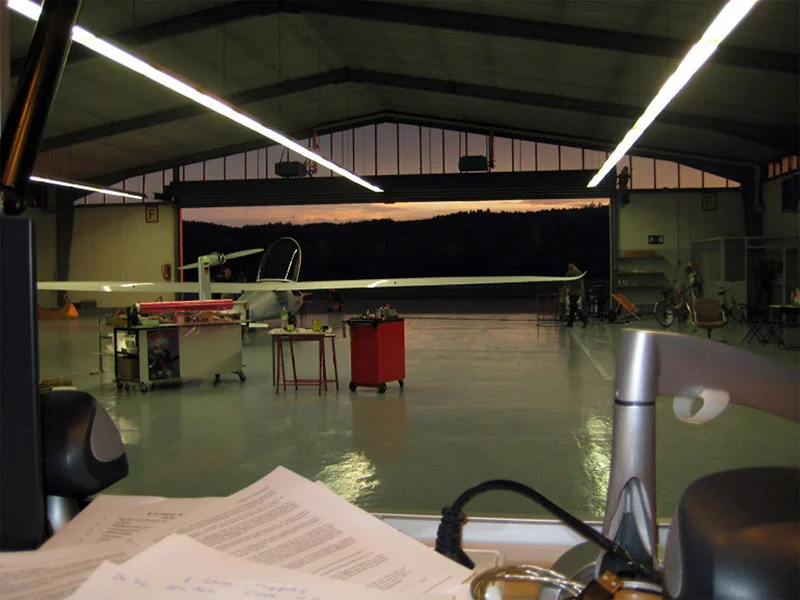
Preparation for flight testingBefore the maiden flight. The fuselage hasn’t been painted yet
Before the maiden flight. The fuselage hasn’t been painted yet